Ascendix Search simplifies searching for Salesforce data and extends its functionality. In this post, we’ll explain how to perform searches with the app.
Let’s dive right in!
Creating Your First Search
For this example, we will be creating a basic search using the preset Account search template provided by Ascendix Search.
Step 1. Start by opening Ascendix Search
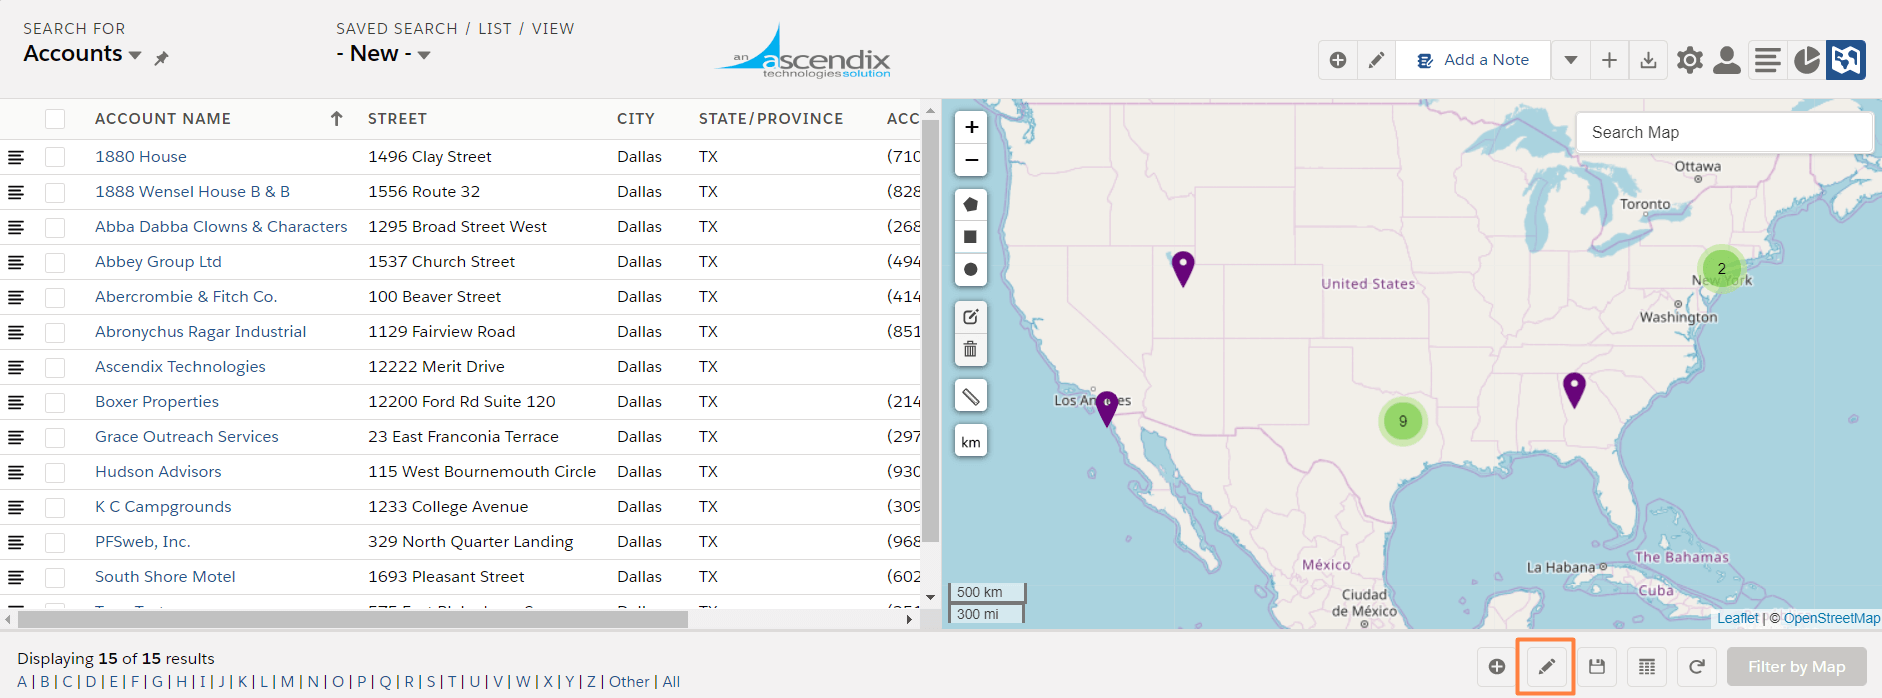
Step 2. Select Account in Search For. You should notice some search fields have been prepopulated such as Account Name, Industry, and Street.
Step 3. Fill out some relevant search criteria such as City or State/Province. Then click on Search in the bottom right of the interface.

Ascendix Search – Getting a List of Accounts from Dallas, Texas
If you have Accounts that match your search criteria they should show up now.
Ascendix Search app supports searching for core and custom objects. If you don’t see the Object in the Search For section, then you or your Salesforce Admin should make it searchable first.
Don’t worry! It’s a matter of a few clicks. Check out the help doc where we explain how to make objects searchable.
Performing A What If Analysis
What-If Analysis in Ascendix Search allows you to try out different search scenarios when building list views in Salesforce.
By changing values in the search criteria, you will be able to quickly test scenarios and update searches. No need to save list views before you’ll get results.
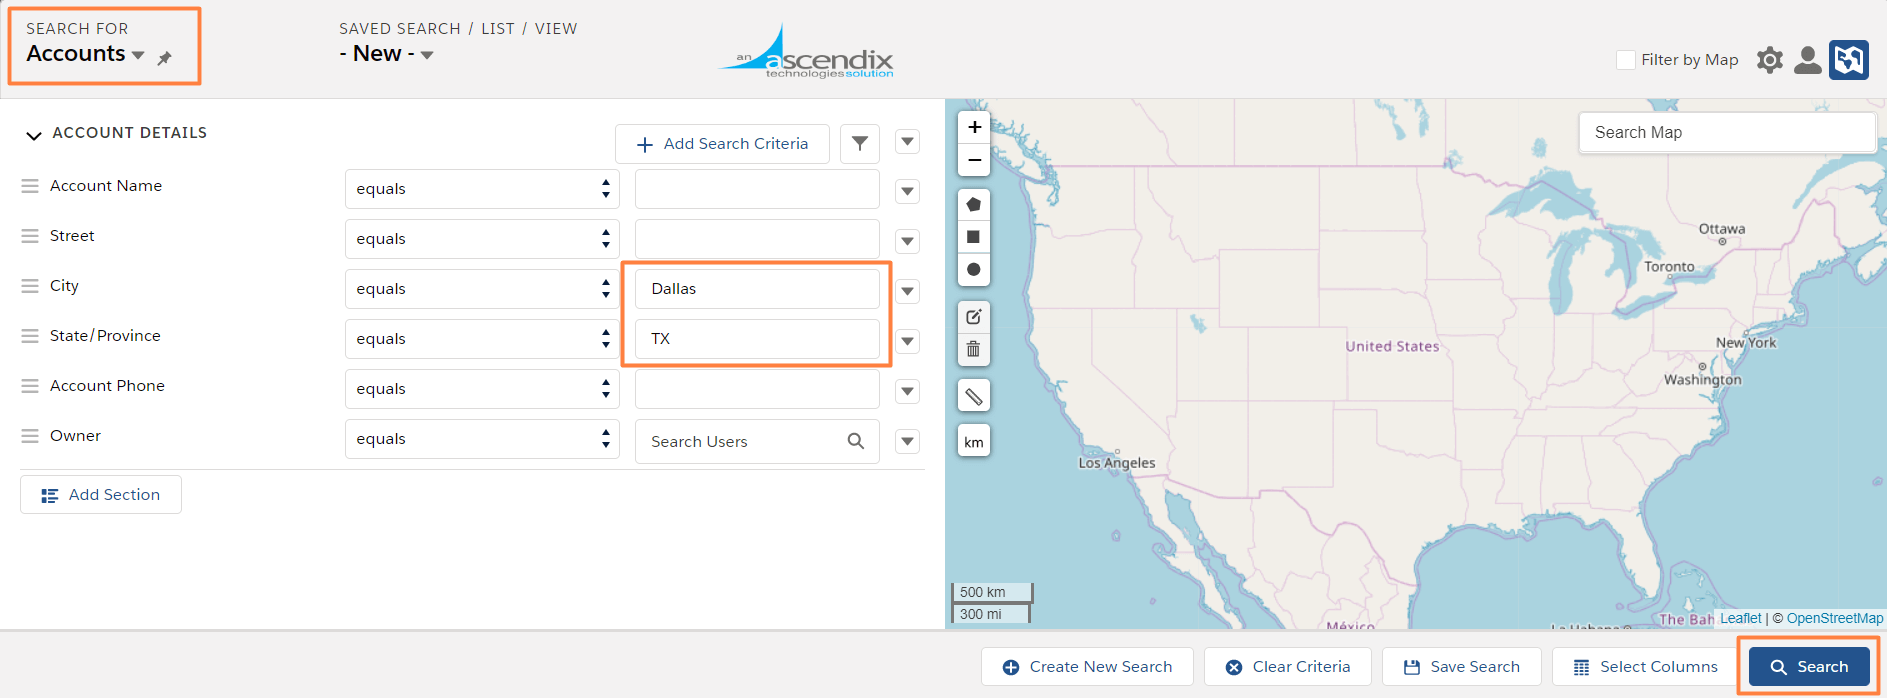
Step 1. Select the Edit criteria button from the bottom right.
Step 2. Change previously filled search criteria such as City, then select Search.
Ascendix Search – Editing Search Criteria
If you have Accounts that match your search criteria they should show up in the updated search.
Running Multi-Criteria Searches
Now that we’ve performed our first What IF Analysis let’s see how we can start using some advanced search functionality. Such as adding additional search criteria to help you find information that matters to you.
For this example, we will be searching for Accounts that were not contacted by us in the last 2 weeks and are not our clients. To get the correct result set, we would need to check Last Activity date of all contacts that work for these accounts. It means that we’ll need to perform the related search. Sounds a bit complicated? It is a few clicks exercise with Ascendix Search:
Step 1. Select Account in Search For. You should notice some search fields have been prepopulated.
Step 2. Click Add Search Criteria to add Account Type field and set not equal to and Client.
Step 3. Click Add Section to add Contacts (our related object) and add Last Activity field and the needed search criterion (before X weeks 2)
Step 4. Then click on Search in the bottom right of the interface.
If you have Accounts that match your search criteria they should show up now.
To find a comprehensive list of Advanced Filtering Options please refer to Expanded Search Operators.
Besides, you can draw polygons on the map to narrow down your search.
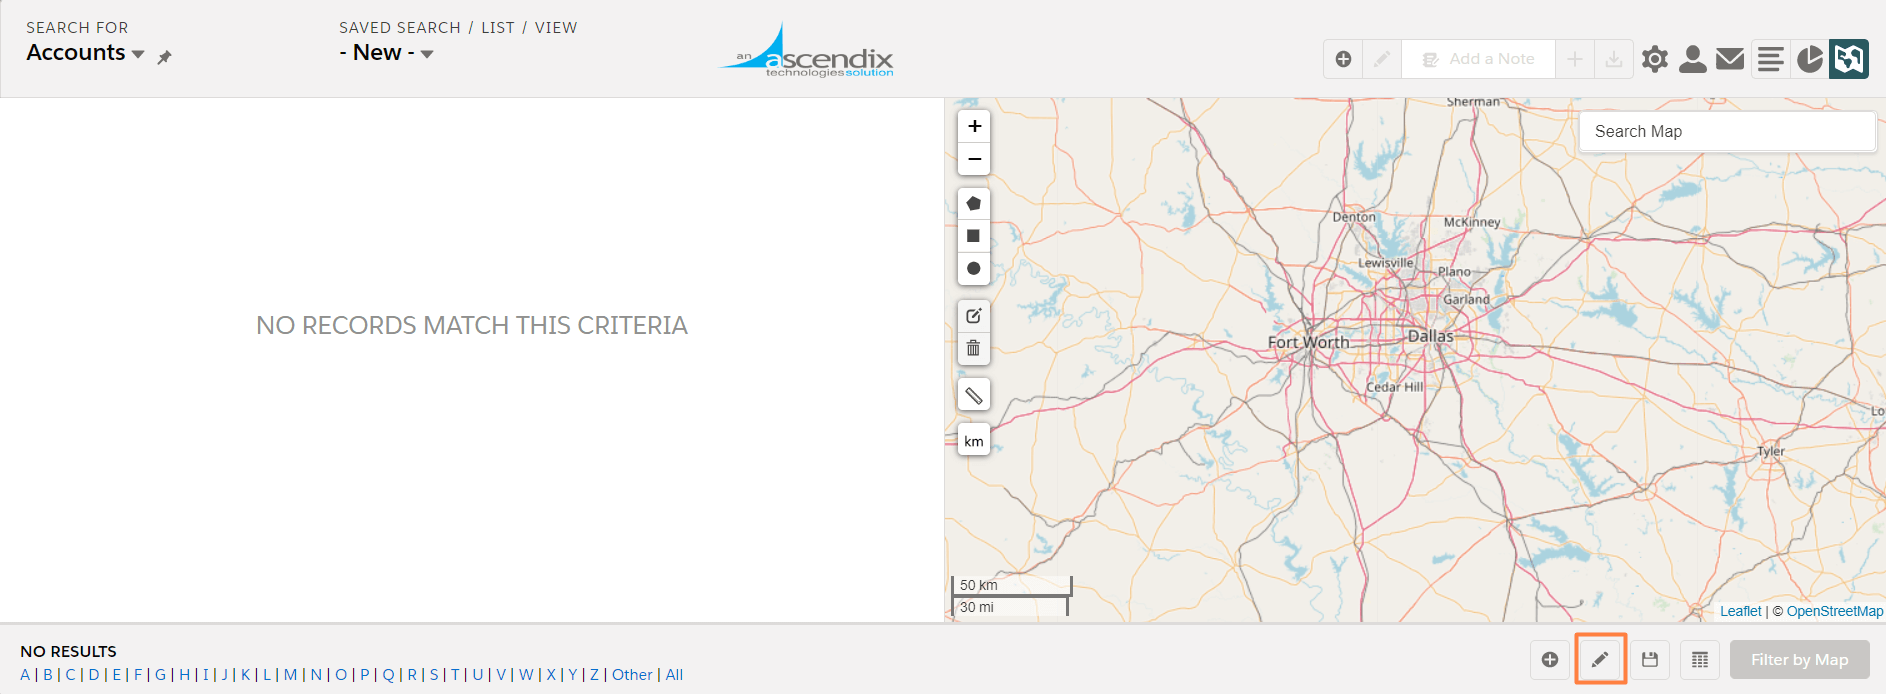
If no records match Search criteria, you will see a notification ‘No Records Match This Criteria’. You can always adjust your searching criteria by clicking the Edit Criteria ✏️ button on the down left corner.
If records match your criteria, you will see them arranged in a list. Also, if you setup geocoding for this object, you will see pushpins on a map:
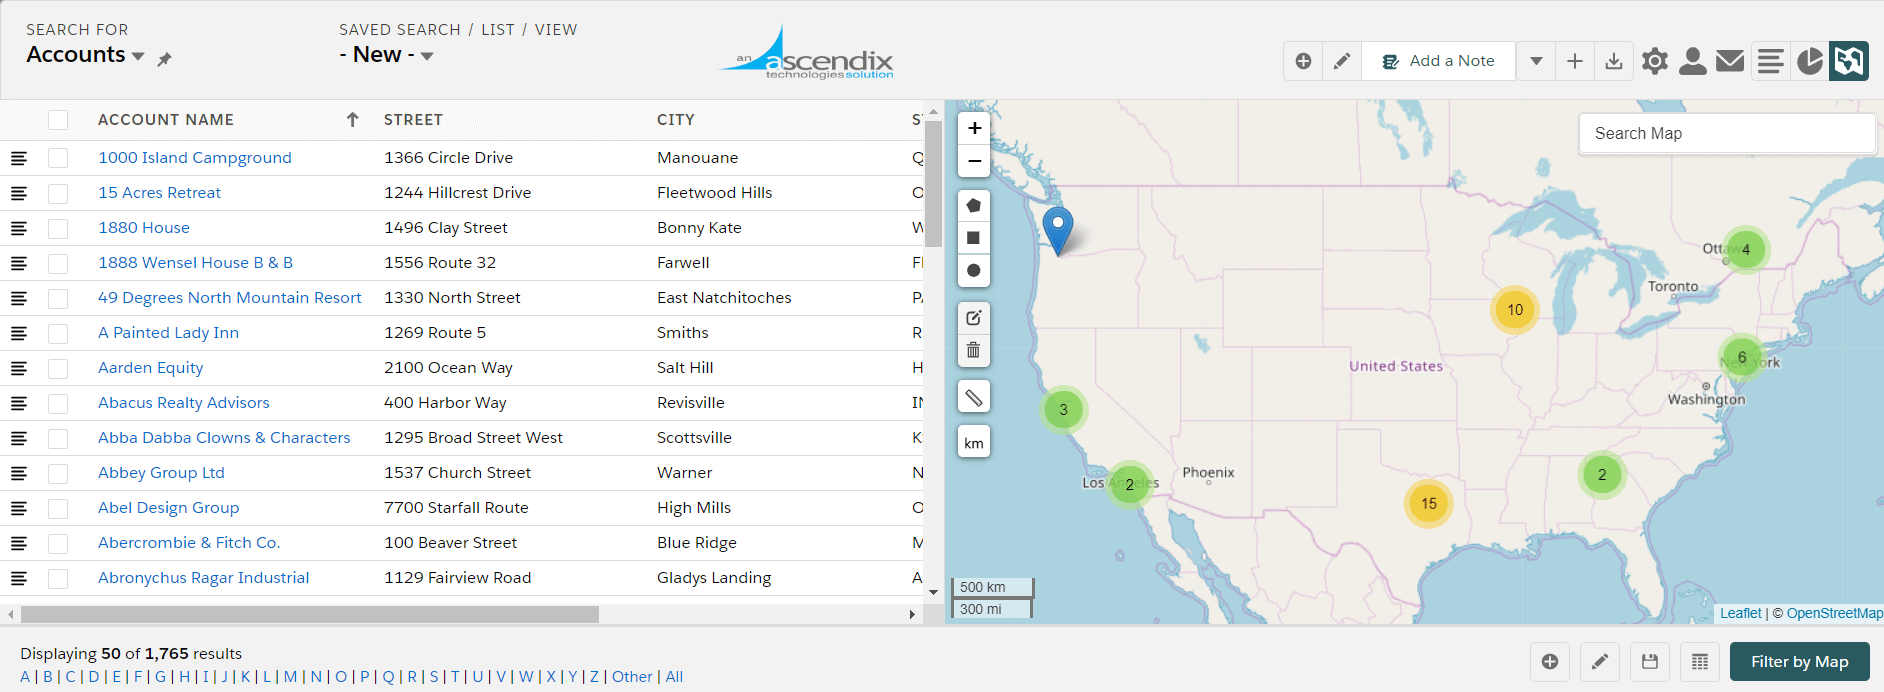
This allows you to quickly pinpoint Accounts that are relevant to your current needs without the hassle of checking back and forth between objects.
Advanced Search Functionality
Ascendix Search app lets you build lists of records with multiple tools, including maps and charts. Make sure to check these help posts to learn how to use them:
Now that you have results you can:
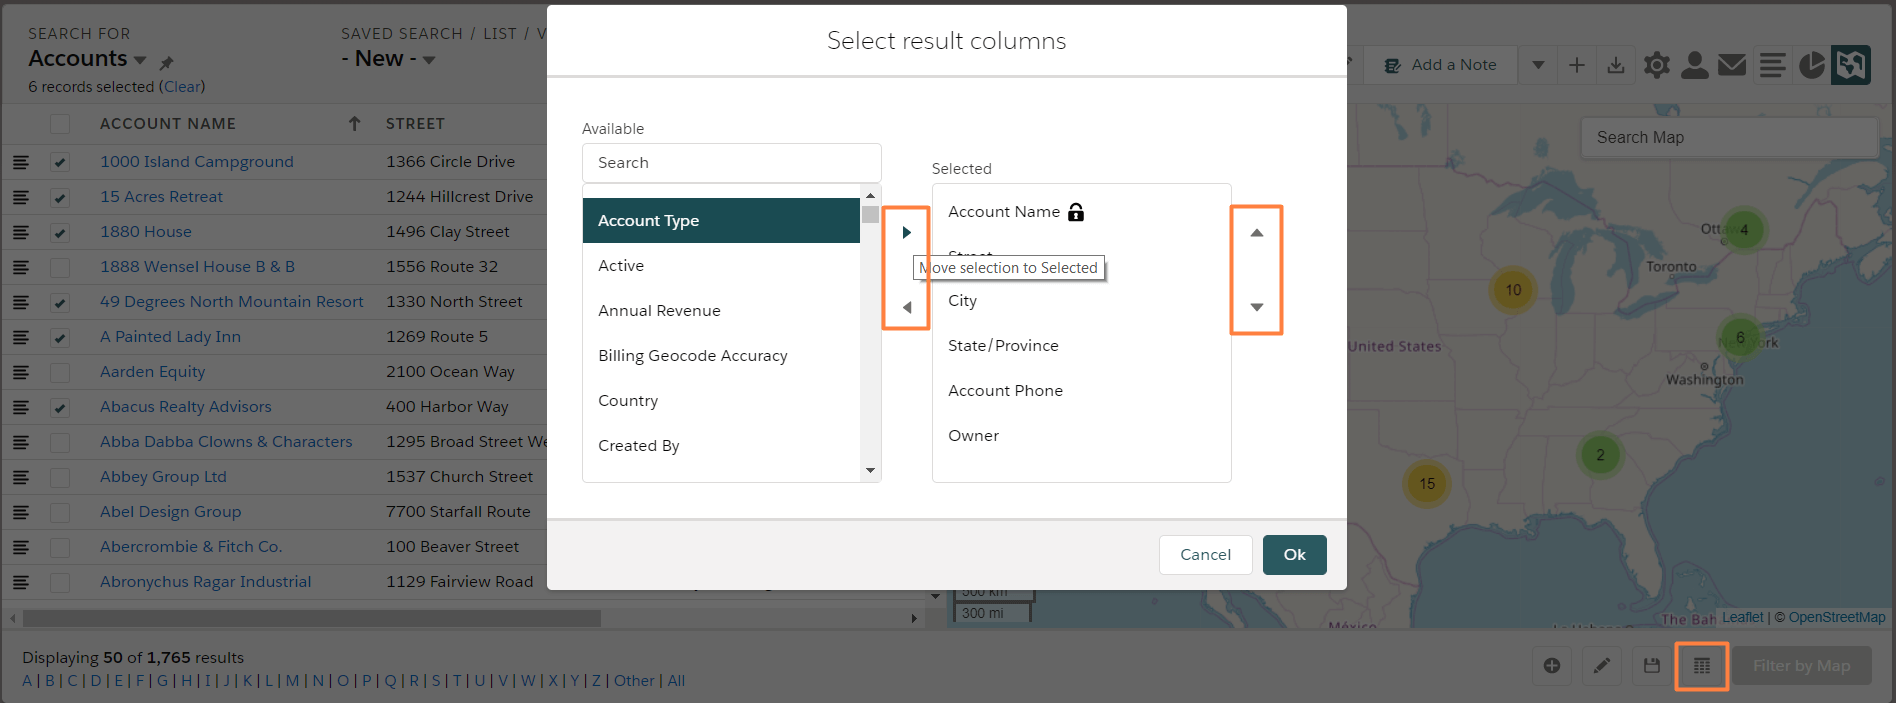
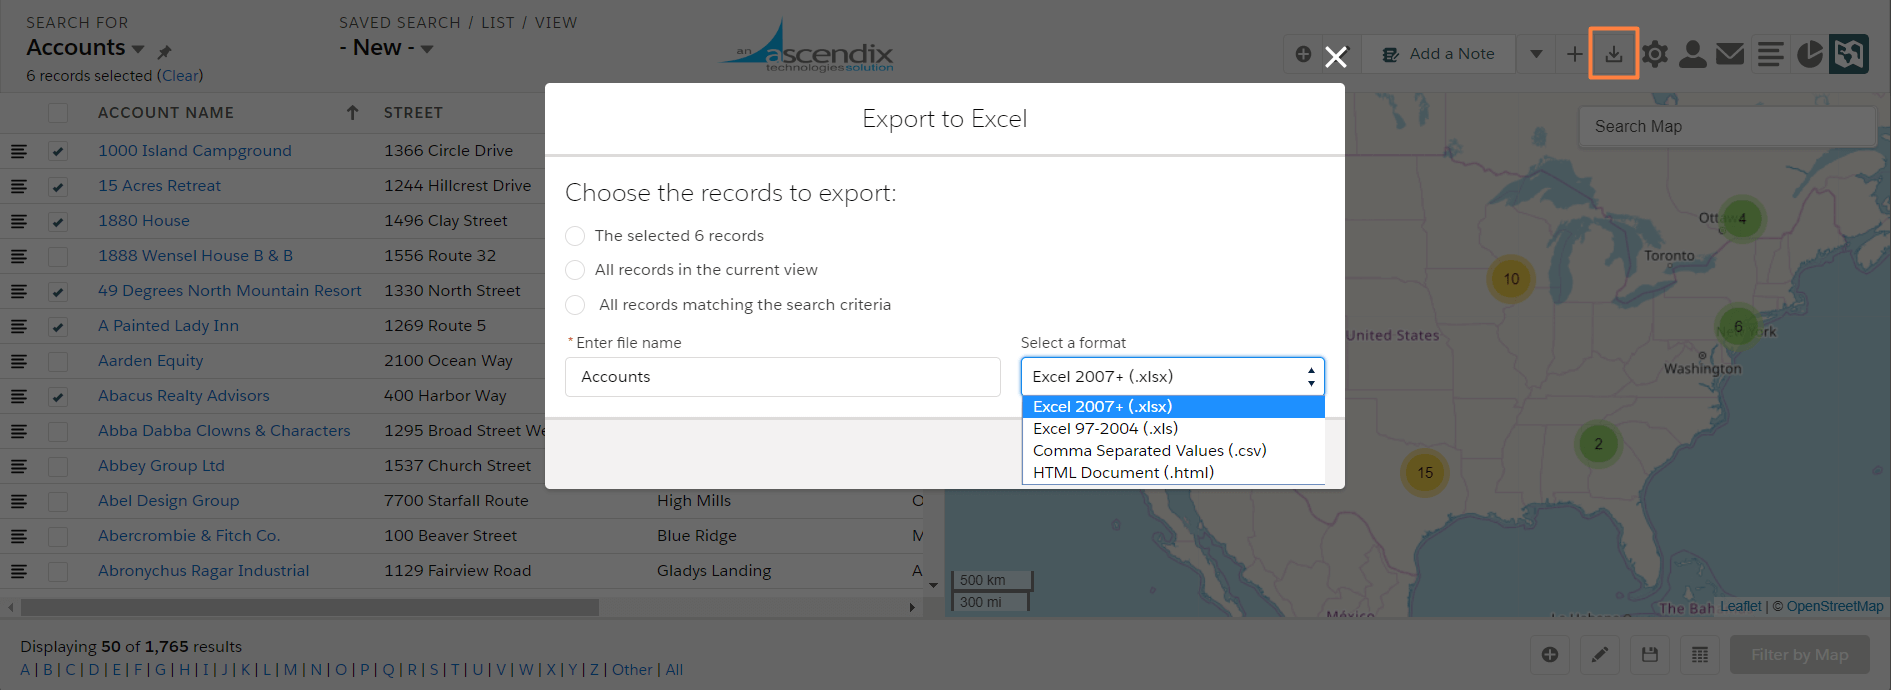
Customize the result columns by adding, removing, or reordering them. To do this, click the Select Columns on the bottom right corner:
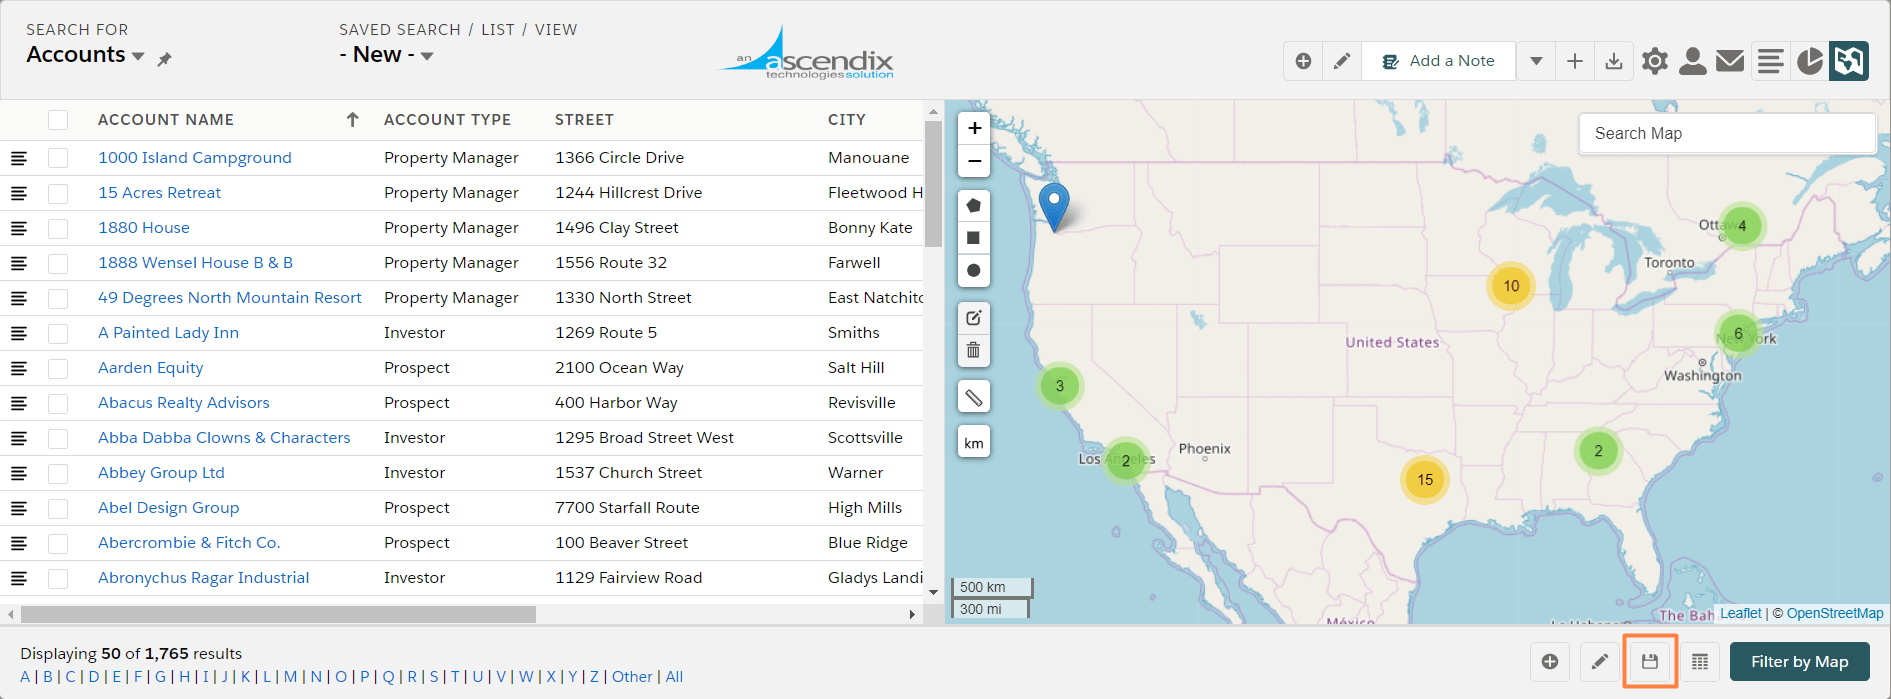
You can save this search by clicking the Save Search button from the bottom.
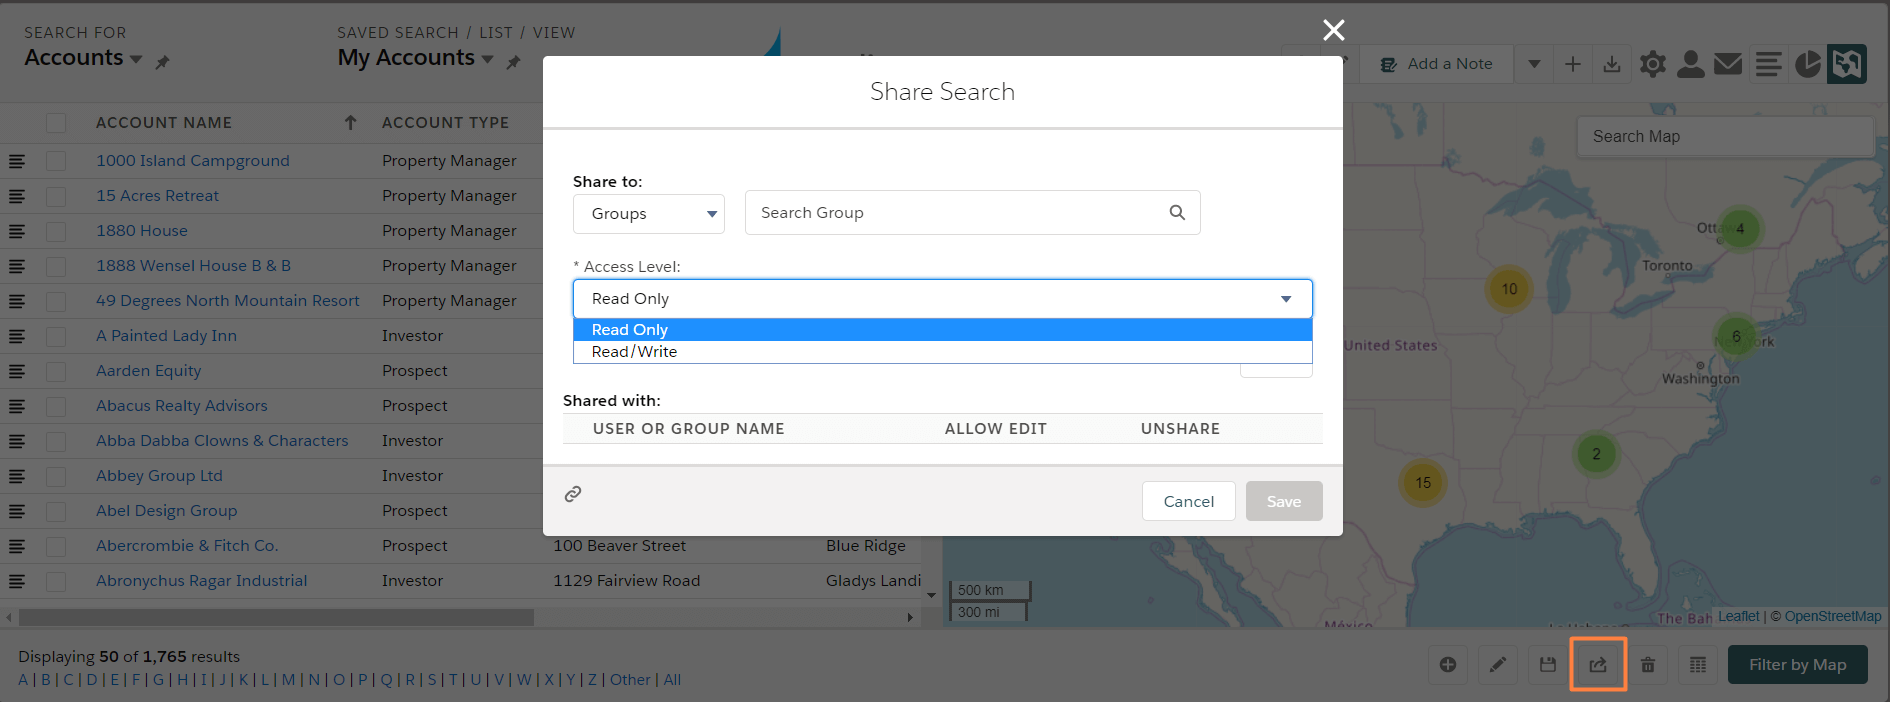
You can share your saved searches with individual users or teams
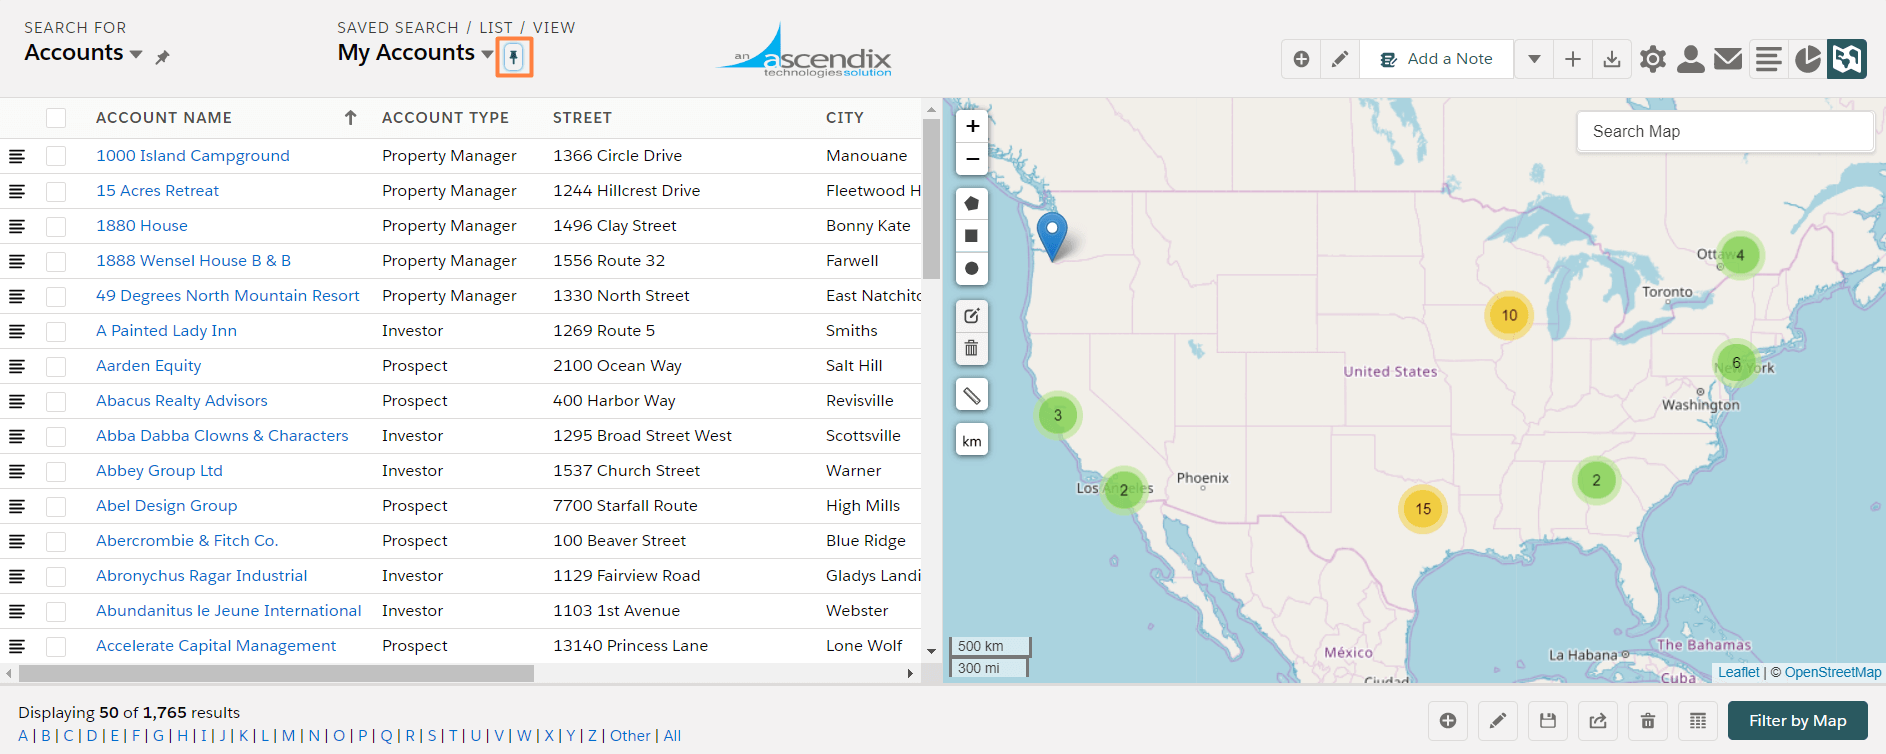
Also, you can pin your saved search for each Object. Each time when you open Ascendix Search you’ll see results of your pinned searches. E.g. Leads that require my attention might help Sales Reps not to miss any opportunity.
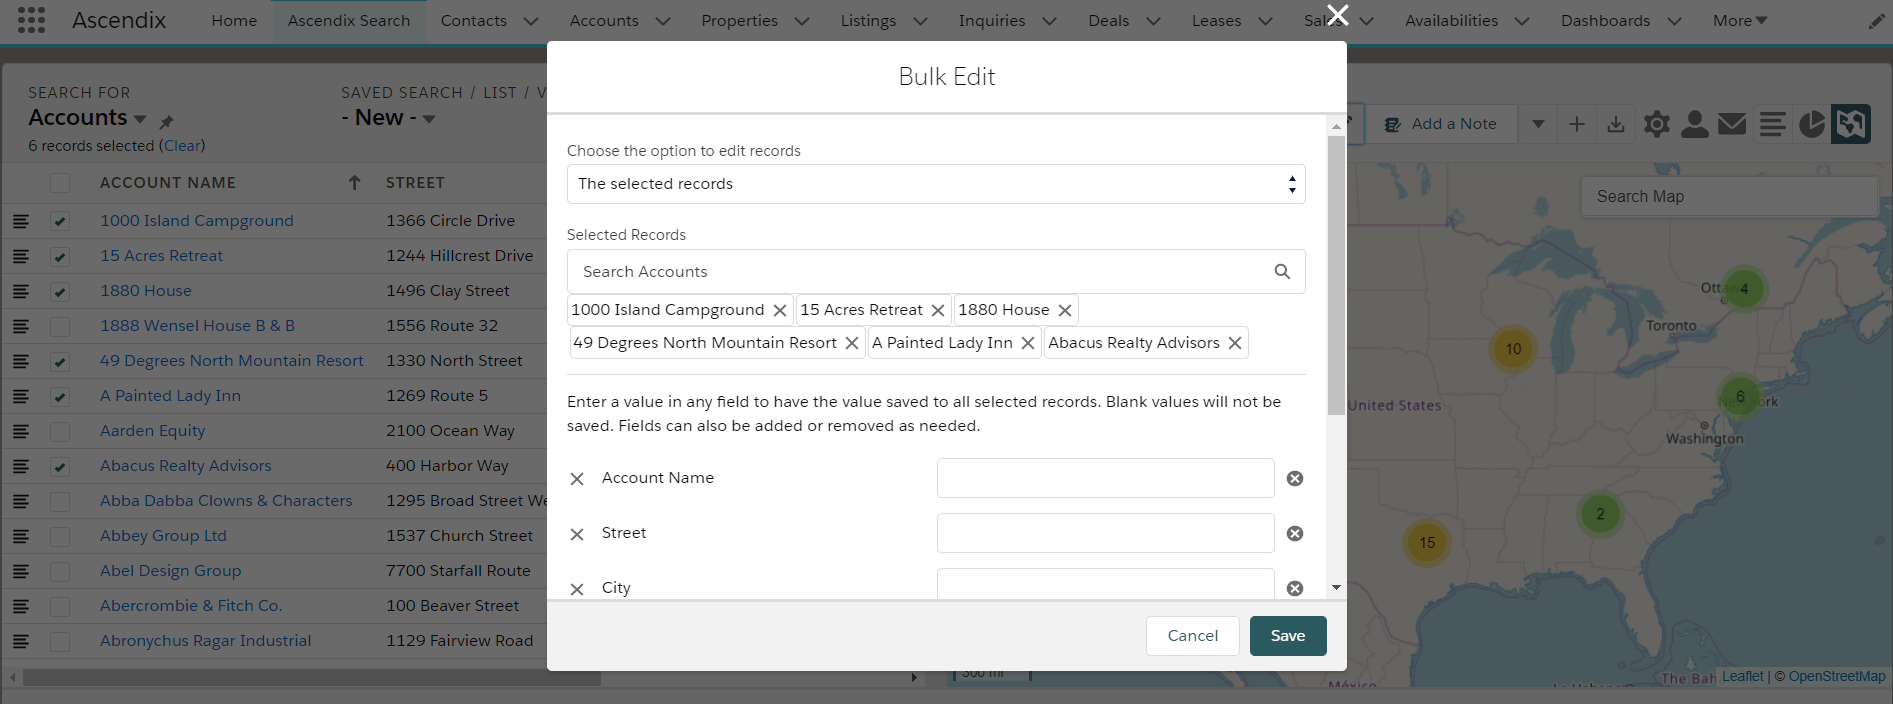
Select all or some records to bulk edit them
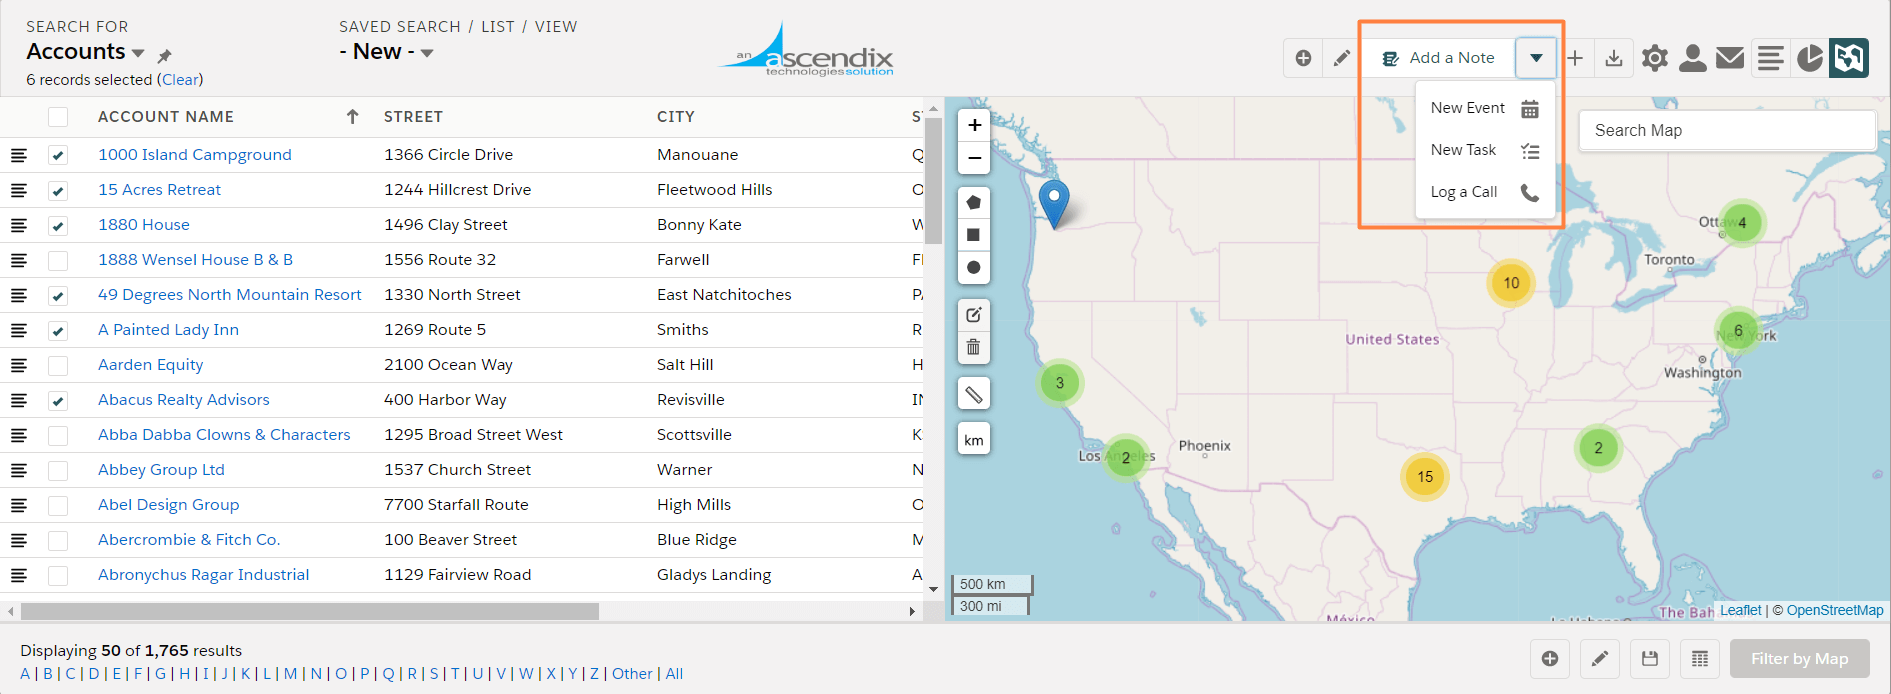
Add a note, create New Event, New Task, Log a Call to multiple records in one action by clicking the corresponding button on the top right corner:
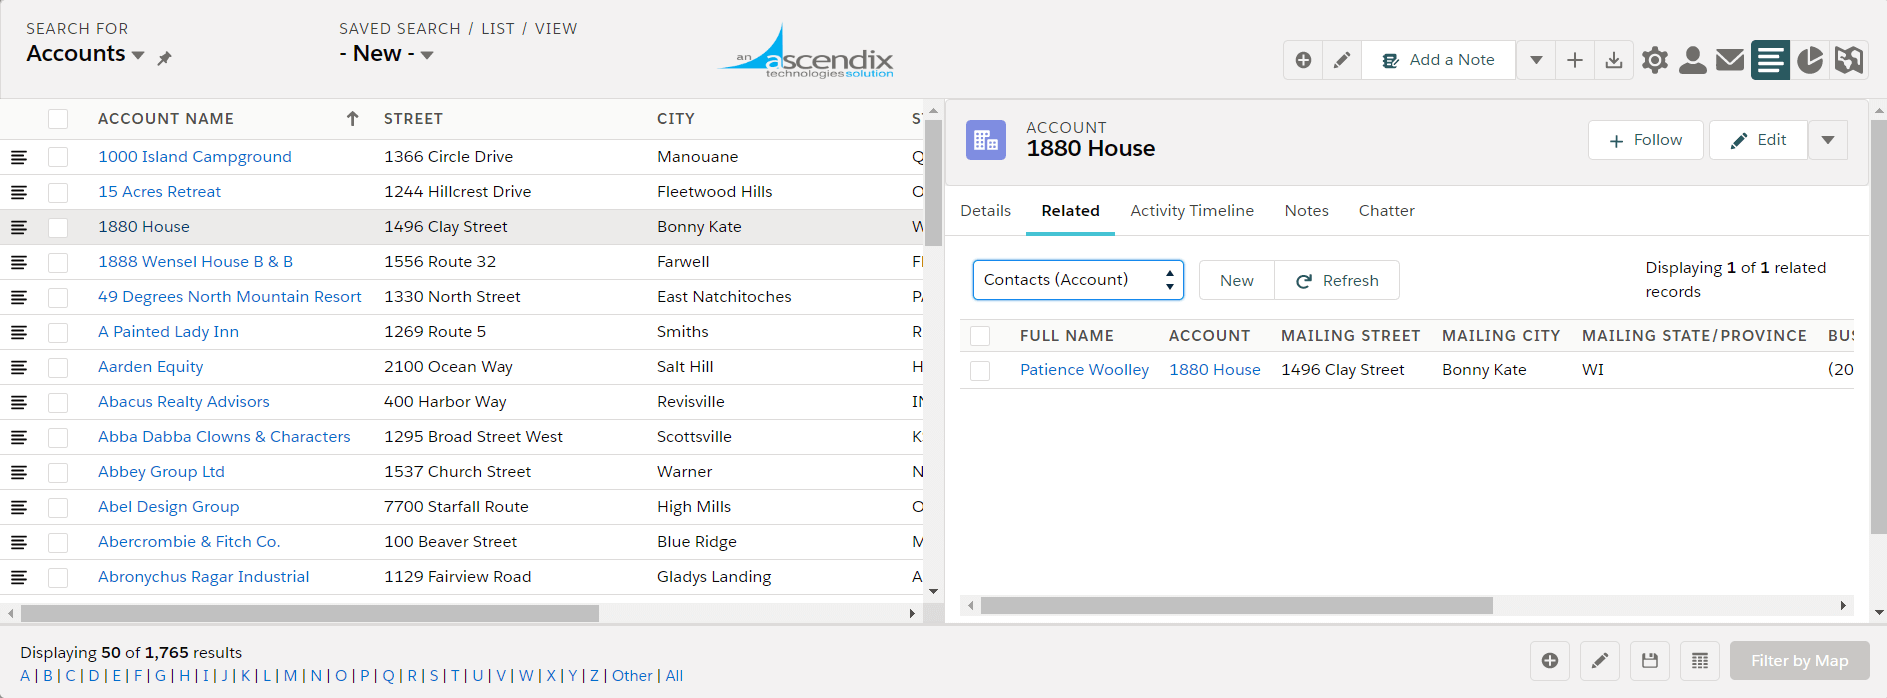
Preview each record by clicking on a row. You can see record details, related objects, e.g., linked Contacts for Accounts, Activity Timeline, Notes, Chatter. Also, you’ll be able to follow this record and edit it right here. Learn more about a Preview Panel.
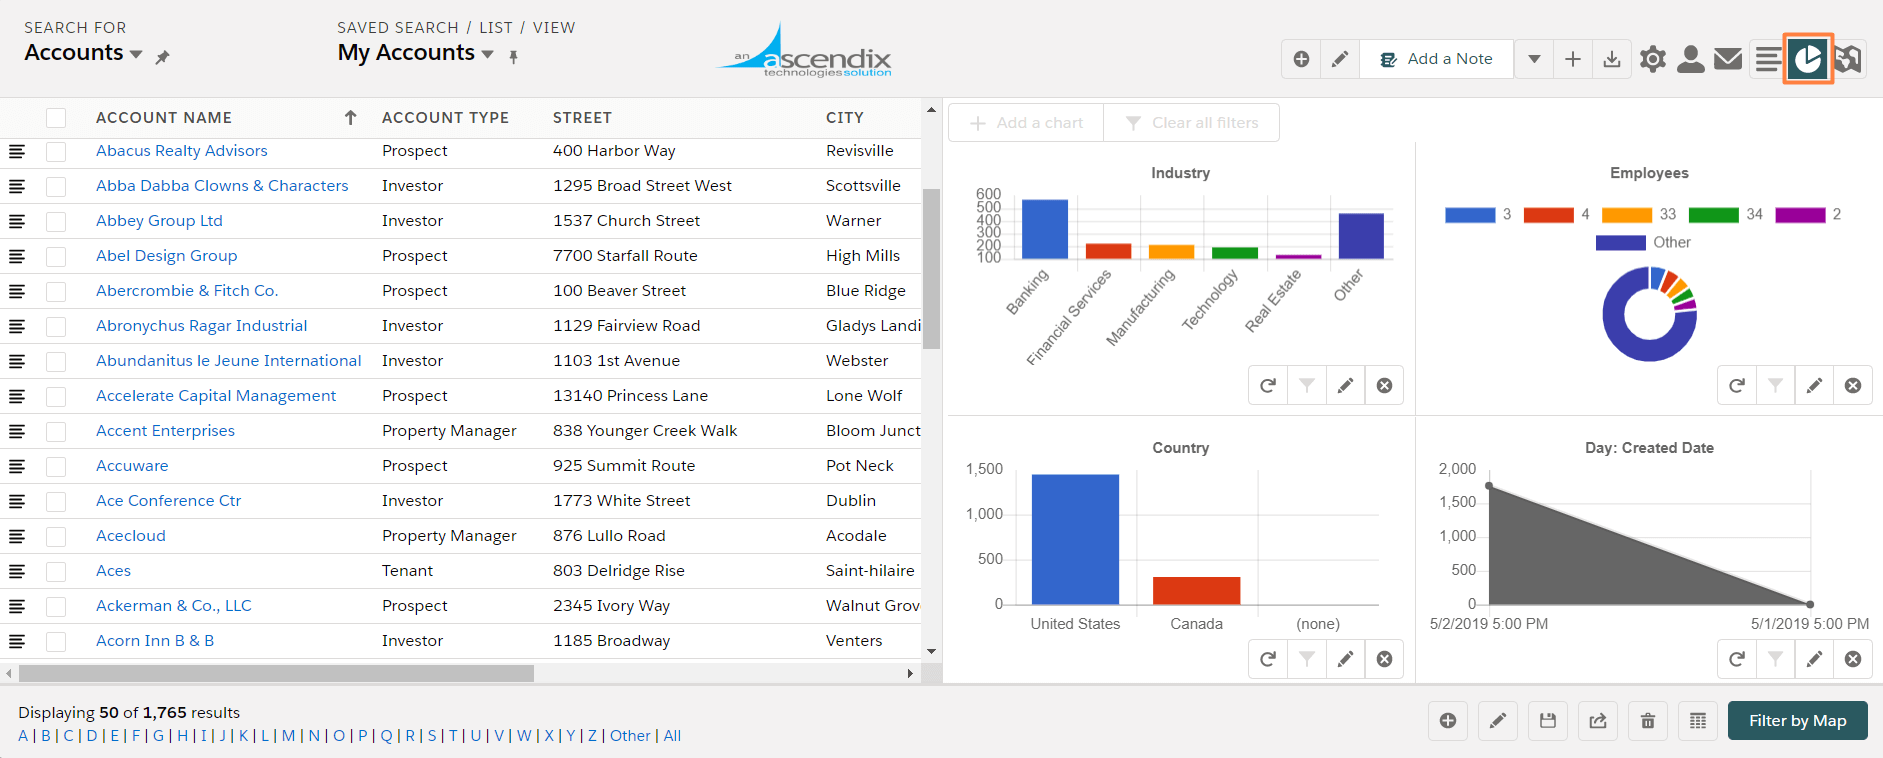
Ascendix Search also can visualize your data via charts and will let you narrow down your search results by clicking on charts. It might be very handy to spot trends and get insights. Click Show/Hide Insights button on the top right and Add charts. Make sure to save the list to keep the charts for future searches! Click on the charts to filter your results further.
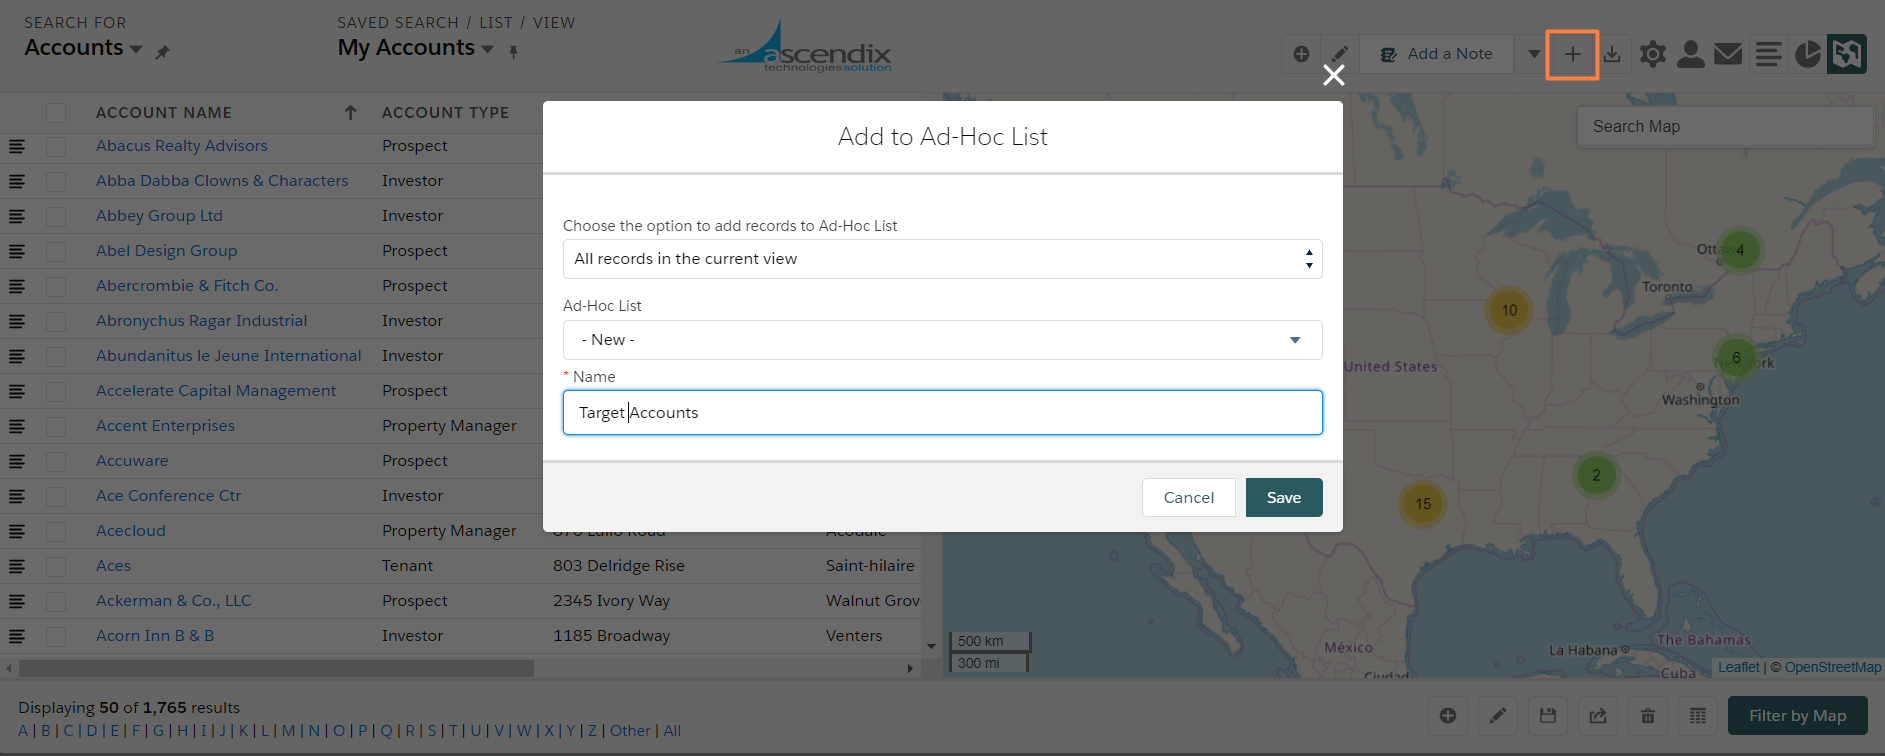
You can add records to your custom Lists of records (we call them Ad-Hoc Lists) by clicking the Add to Ad-Hoc List button. E.g., you can create My Target Accounts list or Baseball fans. Learn more about Ad-Hoc Lists.
What’s Next?
- Create your own searches
- Think what lists might help you do your job better and save them:
- New Leads
- Leads that require attention
- Prospects to call
- Prospects to mass email
- Marketing list to include in the newsletter
- Target accounts
- My Clients this year/month/quarter
- Completed Calls this week/this month/this year
- Created Accounts/Contacts today/this week/this year
Happy Searching!