With R28 we have changed the behavior of the Image Viewer - a feature that allows users to add and view images attached to records (available for all objects that support attachments).
Let’s have a small recap of how to configure the Image Viewer, followed by the new steps in the AscendixRE Admin Console.
To configure the Image Viewer feature:
Go to Lightning App Builder and click on Edit next to the record page where the component should be placed.
Create a new tab with the appropriate name (for example, Images):
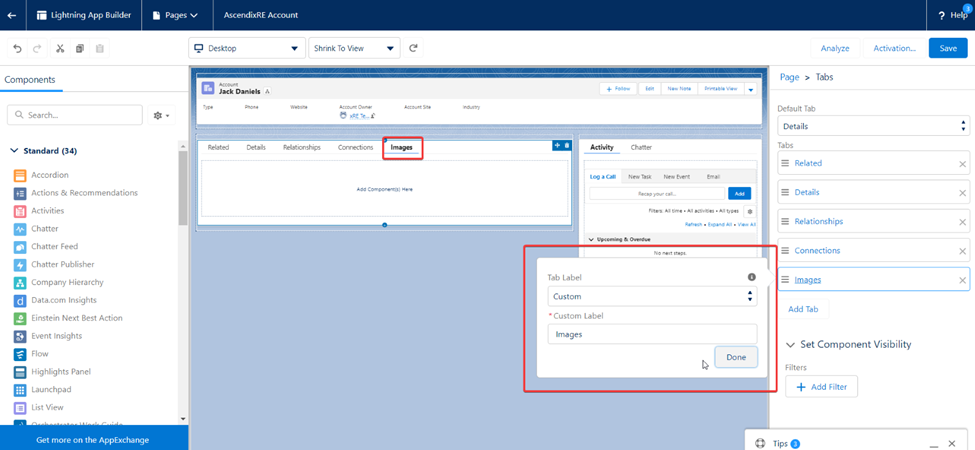
To prevent the user from losing the configuration settings of the Image Viewer through the App Builder, the system will keep the old logic; The new configuration settings will be available in the AscendixRE Admin Console.
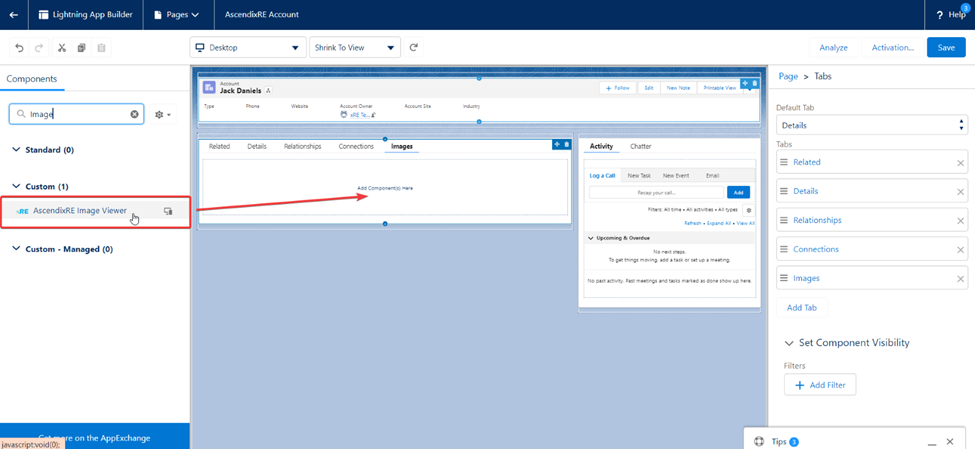
Once the Image Viewer is placed on the page layout, you can follow these steps to configure the settings:
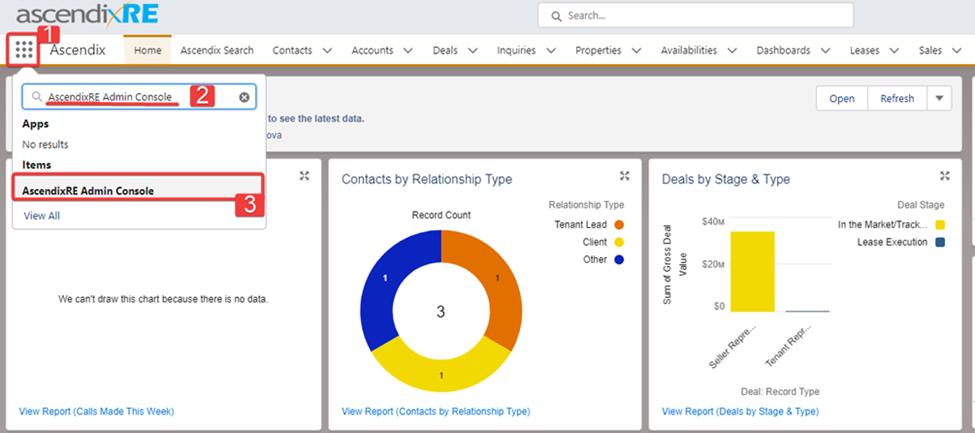
1. Go to the App Launcher (nine dots in the top left corner).
2. Type AscendixRE in the Search box.
3. Click AscendixRE Admin Console.
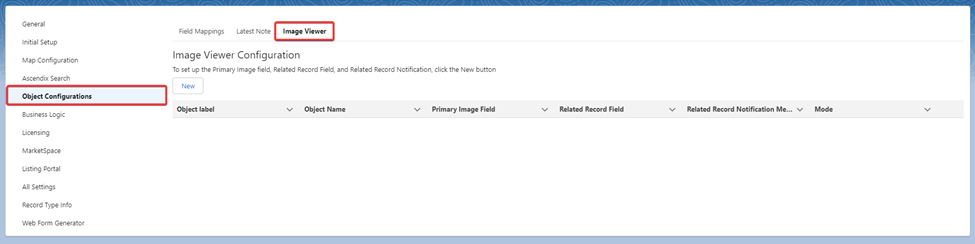
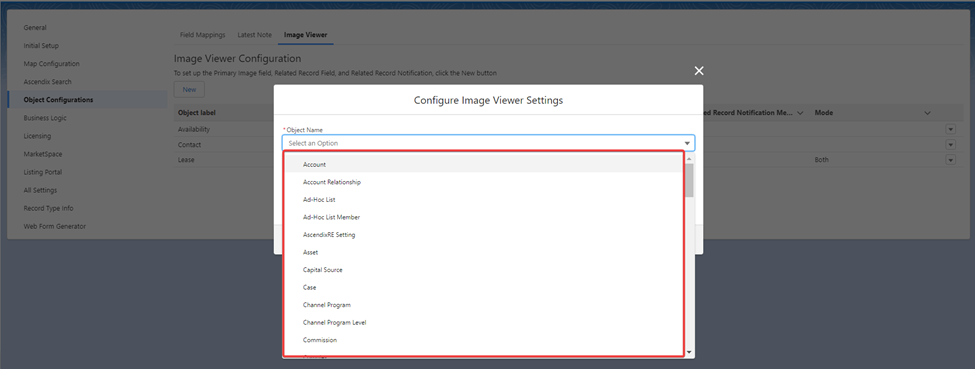
5. A new window - Configure Image Viewer Settings will appear.
6. Select the object from the Object Name picklist for which this setting will be applied(for example, Lease object) :
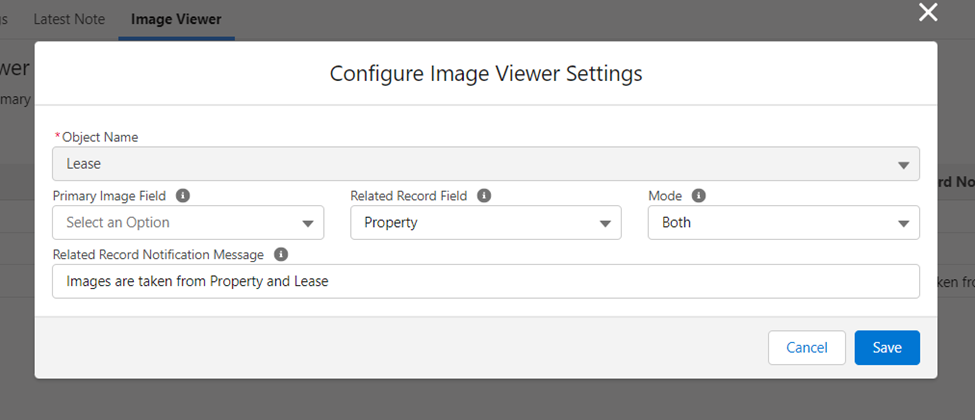
Hover over to the tooltip to get additional information about the field:
- Primary Image Field – “Select the Primary Image Field Name”(This step should be skipped for the Property, Availability, and Listing objects as they already have the primary image fields defined. The field-level security should be set, allowing users to write/read the field from the image viewer component. Otherwise, a user will not be able to define what image is Primary. This a text field with a length of 18 and more credentials that will keep the ID of the record).
- Related Record Field – “Select the Related Record FieldName.”
- Mode –“Select the option for how the images will be shown on the records. Related– images will be shown only from the related record. Self–images will be shown from the current record. Both – images will be shown from the current and related record.”
- Related Record Notification message - "Enter a text that will be shown above the images if Related Record Field is selected." (Please Note: There will be a system message enabled if the text field is empty. For the Mode: Both - “ Images are taken from this record and from the related [Object] record”, for the Mode: Related – “Images are taken from the related [Object] record.”)
7. Click the Save button to apply the settings.
8. When the object has been configured, you can edit or delete the setting.
Let’s go to the Lease record to test the configuration we have set:
1. Go to the Lease record, Image tab, and click the Upload Files button.
2. Once the image is successfully uploaded, click the Done button.
3. Before adding the image to the record, the system will give you two options where this record should be added :
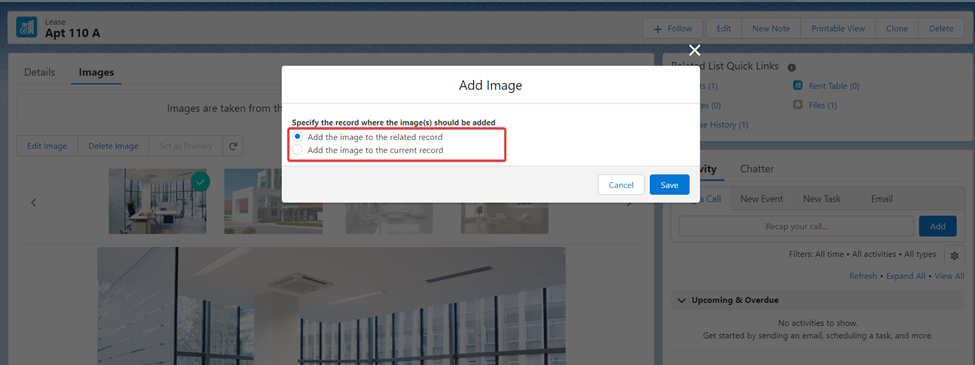
If you select the option “Add the image to the related record” – the image will be added to the Property object (it means that the image will be visible for the child object).
If you select the option “Add the image to the current record” – the image will be added only to the Lease object (it means that the image will be visible for the current object).
4. Click the Save button.
Please note: If the Related Record field isn’t selected (None value), the Mode field will be set by the value Self by default.