Adding Ascendix Search to the Ribbon Bar allows the application to be easily accessed by your users.
Before getting started, determine which Apps will need to have Ascendix Search added to the App Ribbon Bar. In our example, we will be using Sales.
Step 1. Click on the gear icon and select Setup.
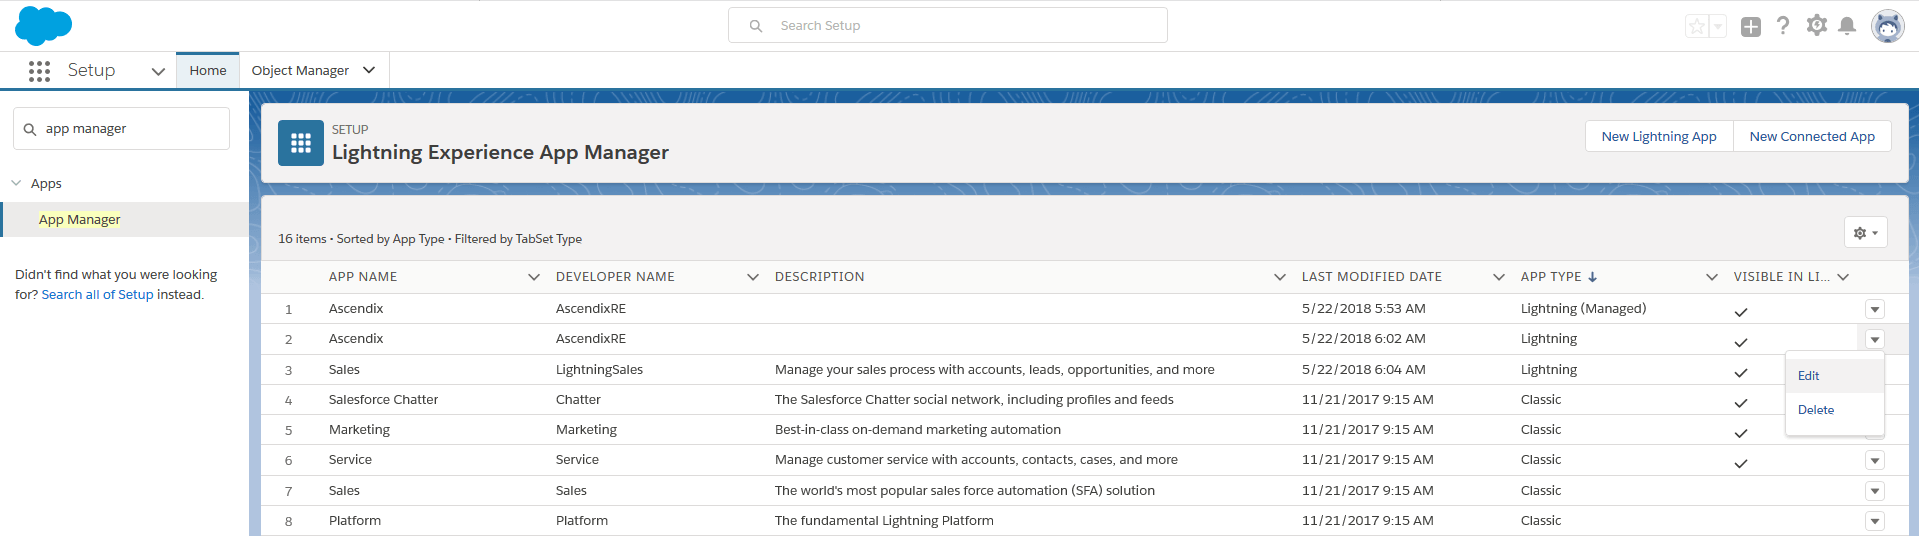
Step 2. Enter App Manager in the Quick Find bar and select the highlighted result.
Step 3. Select the App you wish to add Ascendix Search to and select Edit from the drop-down.
Note: Be sure you are selecting the Lightning version of the app
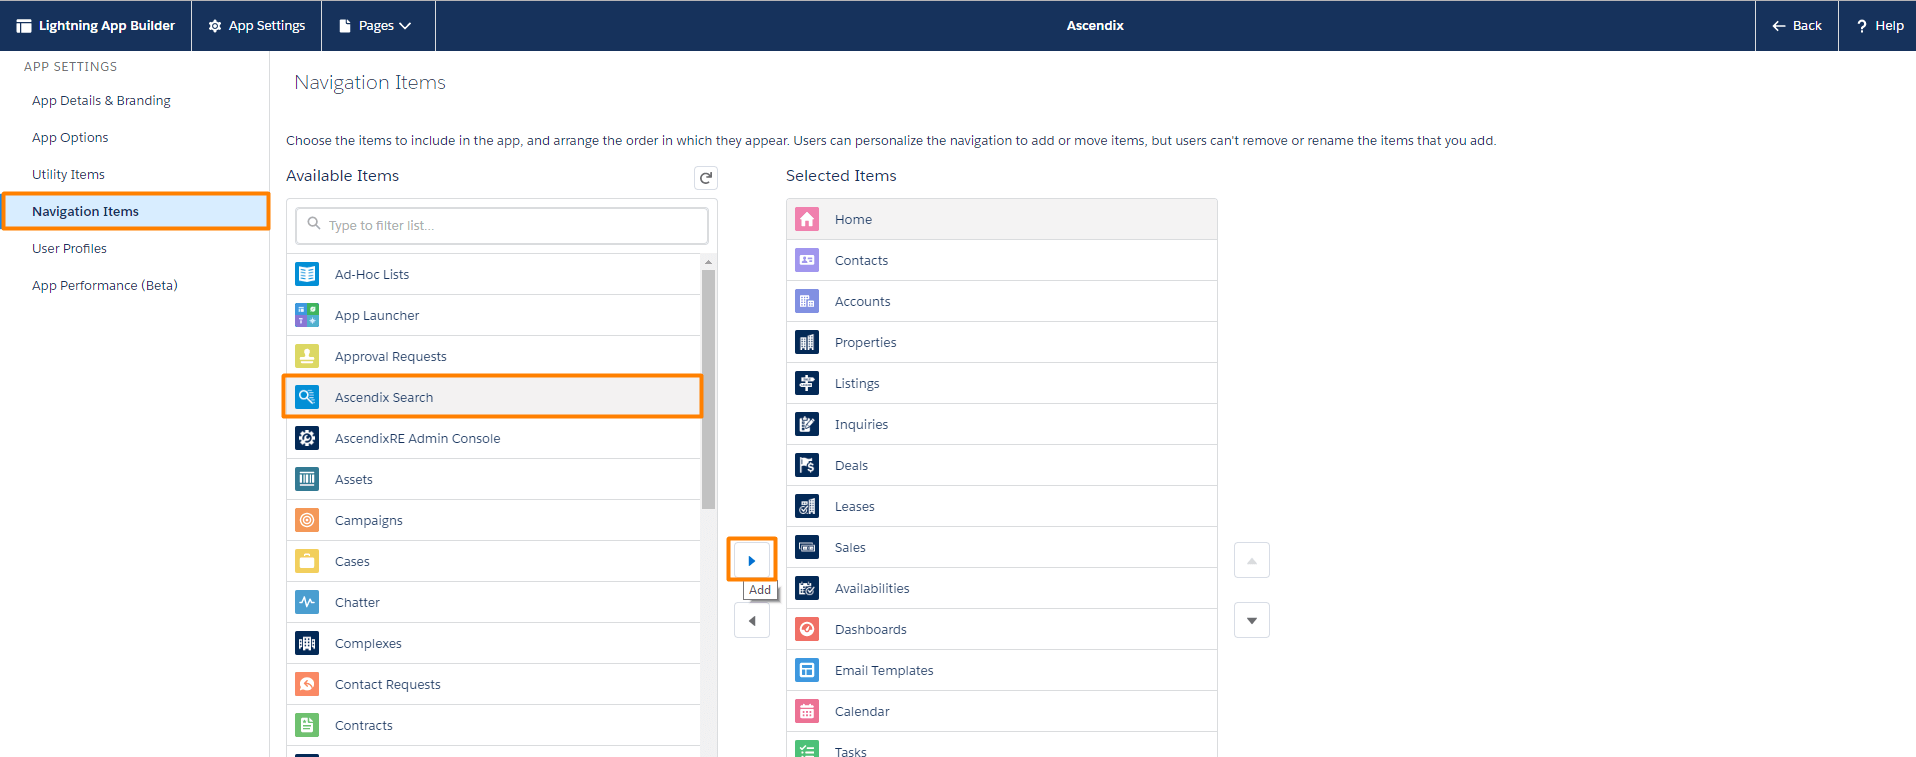
Step 4. Click on Navigation Items and select Ascendix Search from the Available Items section. Use the arrow buttons to move Ascendix Search to the desired location.
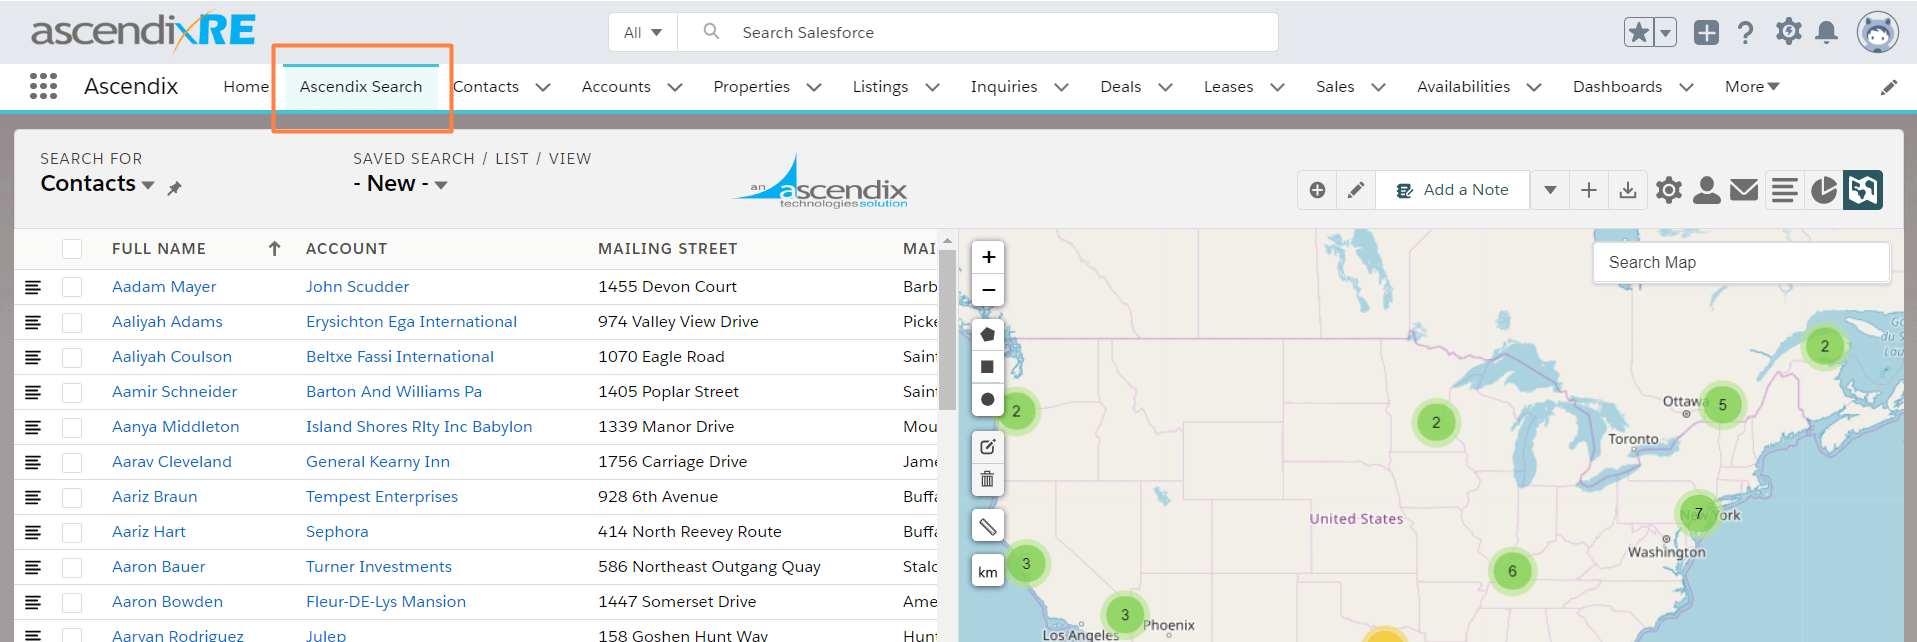
That's it!
Now you can easily access Ascendix Search right from the ribbon!
Salesforce Classic
To enable Ascendix Search in Salesforce Classic following these steps:
- From Setup, enter Tabs in the Quick Find box, then select Tabs
- In the section, Visualforce Tabs click the New button
- Step 1. Enter the Details
- For the field Visualforce Page select Search [ascendix_search__Search]
- For the field Tab Label enter Ascendix Search
- For the field Tab Name enter any unique value
- Click the lookup selector for the field Tab Style
- Click the button Create your own style
- For the field Color select any color
- Click the Insert an Image button
- Under file location select Search then press the Go button
- Click the name Ascendix Search
- Click the OK button
- Click the Next button
- Step 2. Add to Profiles
- Choose the user profiles for which the new page tab will be available. You may also examine or alter the visibility of tabs from the detail and edit pages of each profile
- Click the Next button
- Step 3. Add to Custom Apps
- Choose the custom apps for which the new custom tab will be available. You may also examine or alter the visibility of tabs from the detail and edit pages of each Custom App
- Click the Save button
- Created a Remote Site Setting
- Switch to Salesforce classic view
- Copy domain URL into the clipboard
- From Setup, enter Remote Site Settings in the Quick Find box, then select Remote Site Settings
- Click the New Remote Site button
- For Remote Site Name enter RemoteUrl
- For Remote Site URL paste URL from clipboard
- Click the Save button