The integration with Mailchimp will grant users the opportunity to initiate an email campaign from Ascendix Search by selecting an audience, a Composer template, and the records to be merged into the template to be delivered. Also, users will be able to view the results of an email campaign at a record level from a Mailchimp account.
The admin can set up Mailchimp through Ascendix Search, so the other users can use their Mailchimp accounts too. To configure the Mailchimp account follow these steps:
1. Go to Ascendix Search and click the configuration icon (search set up the console).
2. From the Configuration tab, navigate to the Composer section and check the "Enable Mailchimp" checkbox and click the Save button.

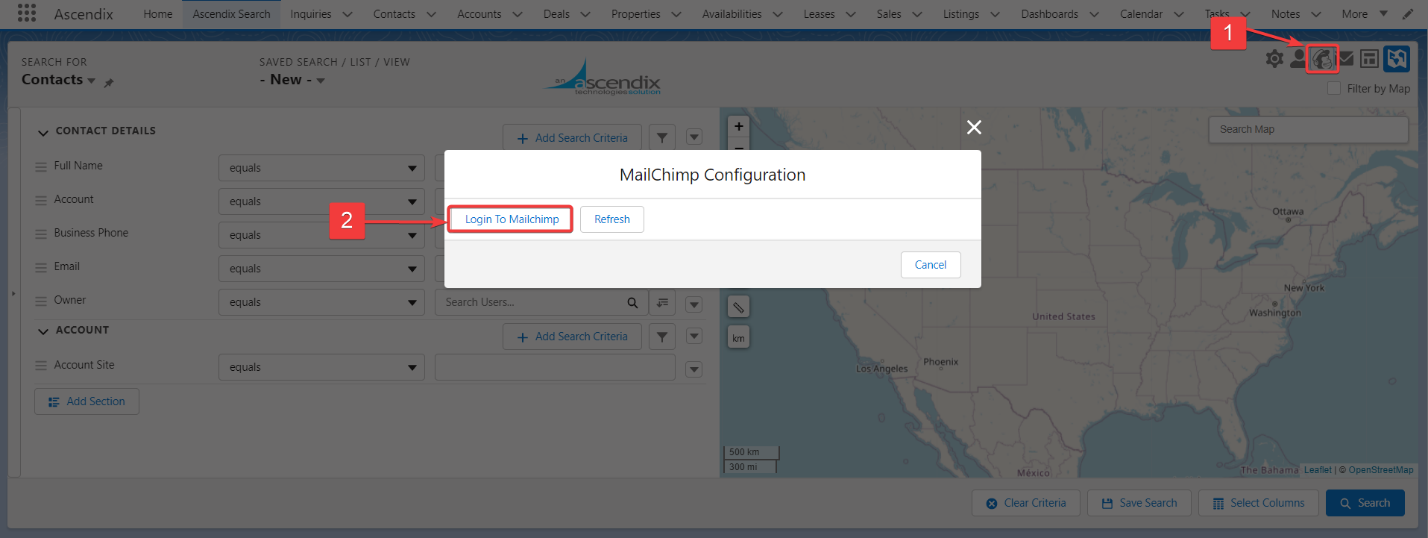
Once the "Enable Mailchimp" checkbox is selected, you can log in to the Mailchimp account by clicking the Mailchimp icon:
1. Click the Login to Mailchimp button to be redirected to the Mailchimp login page.
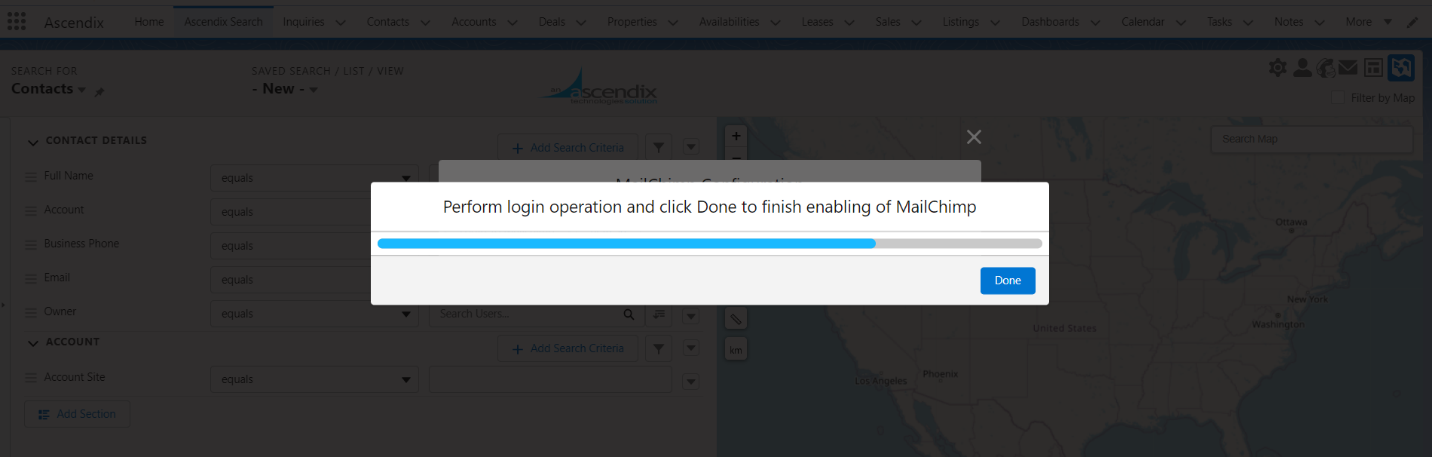
2. A loading window should appear in the Mailchimp Configuration dialog:
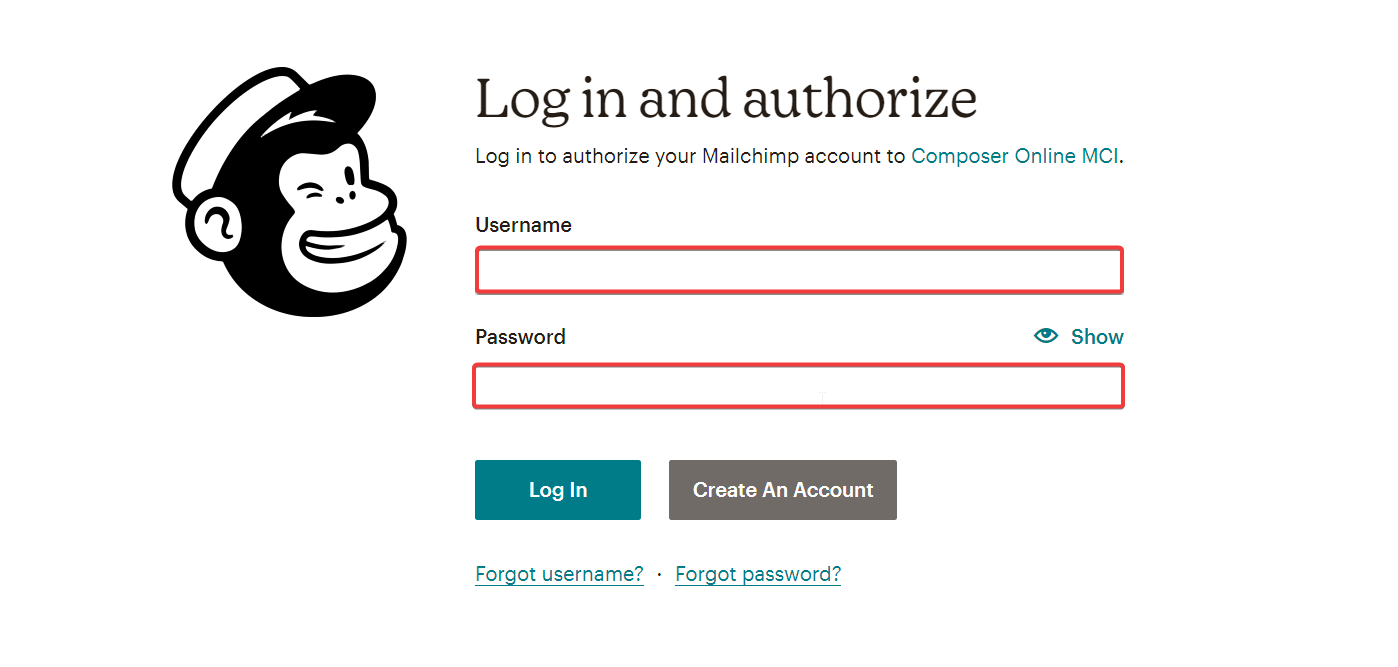
3. Enter your credentials and click the Log in button.
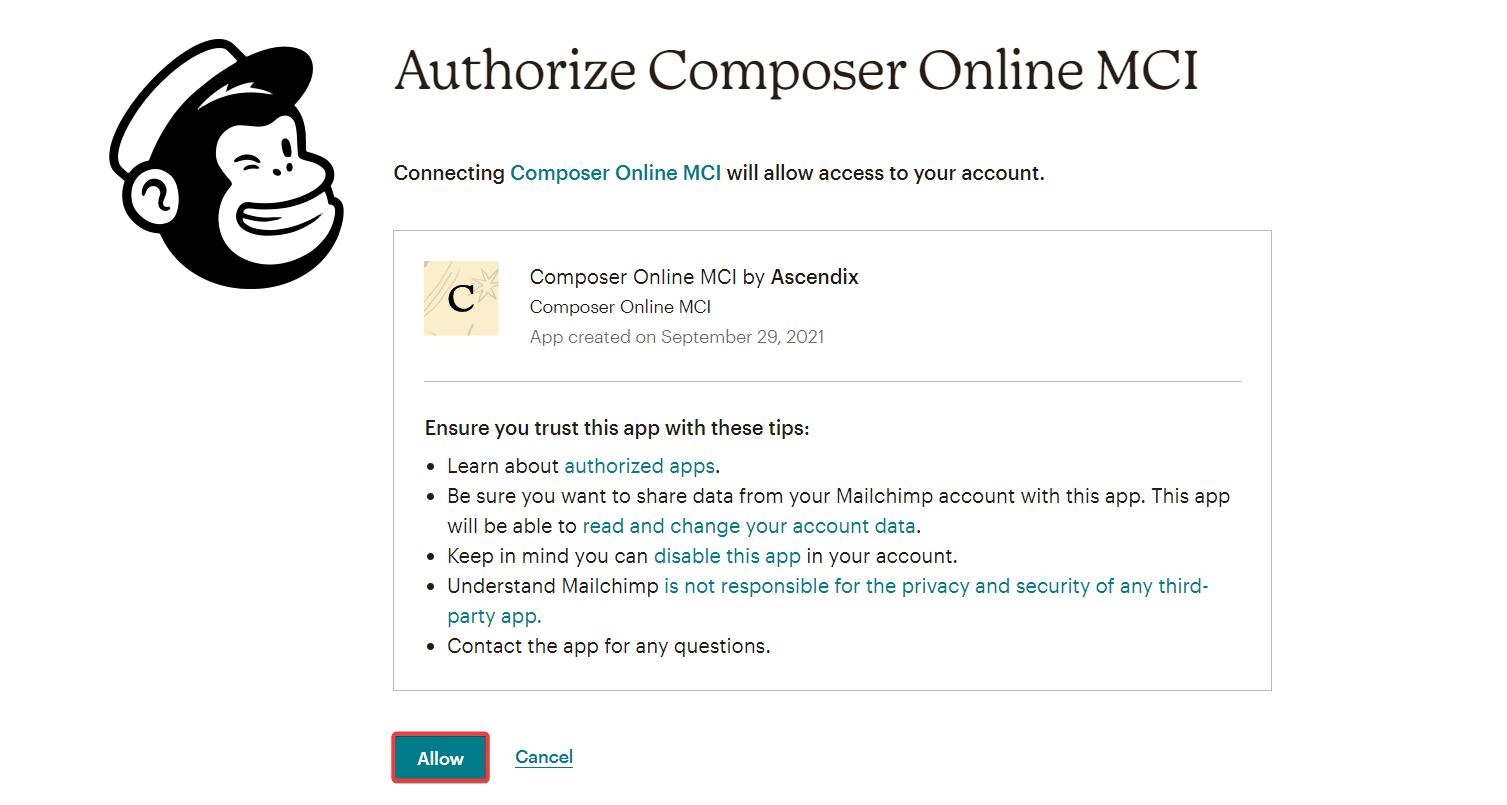
4. Click the Allow button to authorize the connection between the apps. Once completed, you will be redirected back to Ascendix Search.
5. If you have successfully logged into the account, you will see the following text below the Login to Mailchimp button:
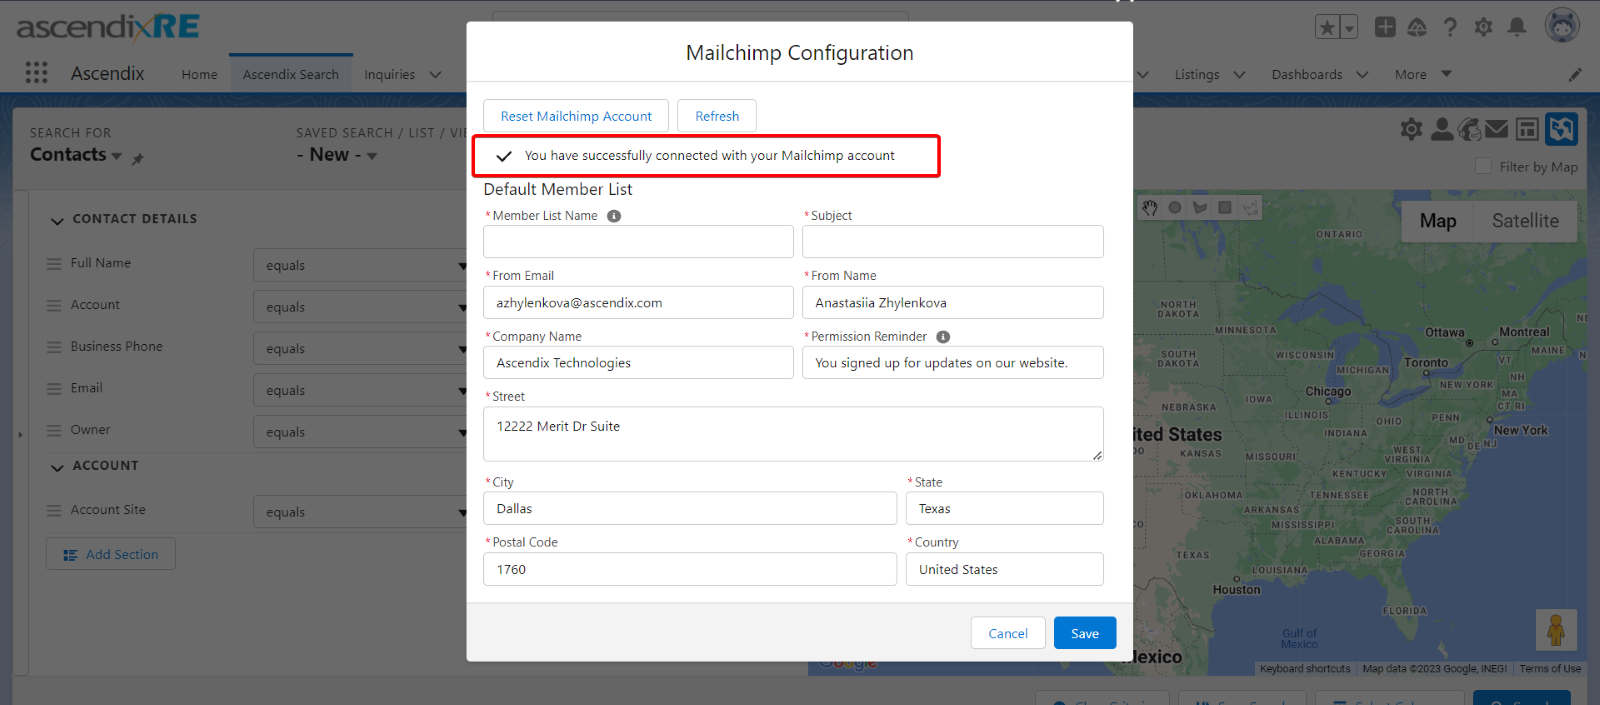
6. After you have logged into the Mailchimp account, click the Refresh button.
7. After initializing Mailchimp, you must configure the Default Member List with all required fields (input data as an example):
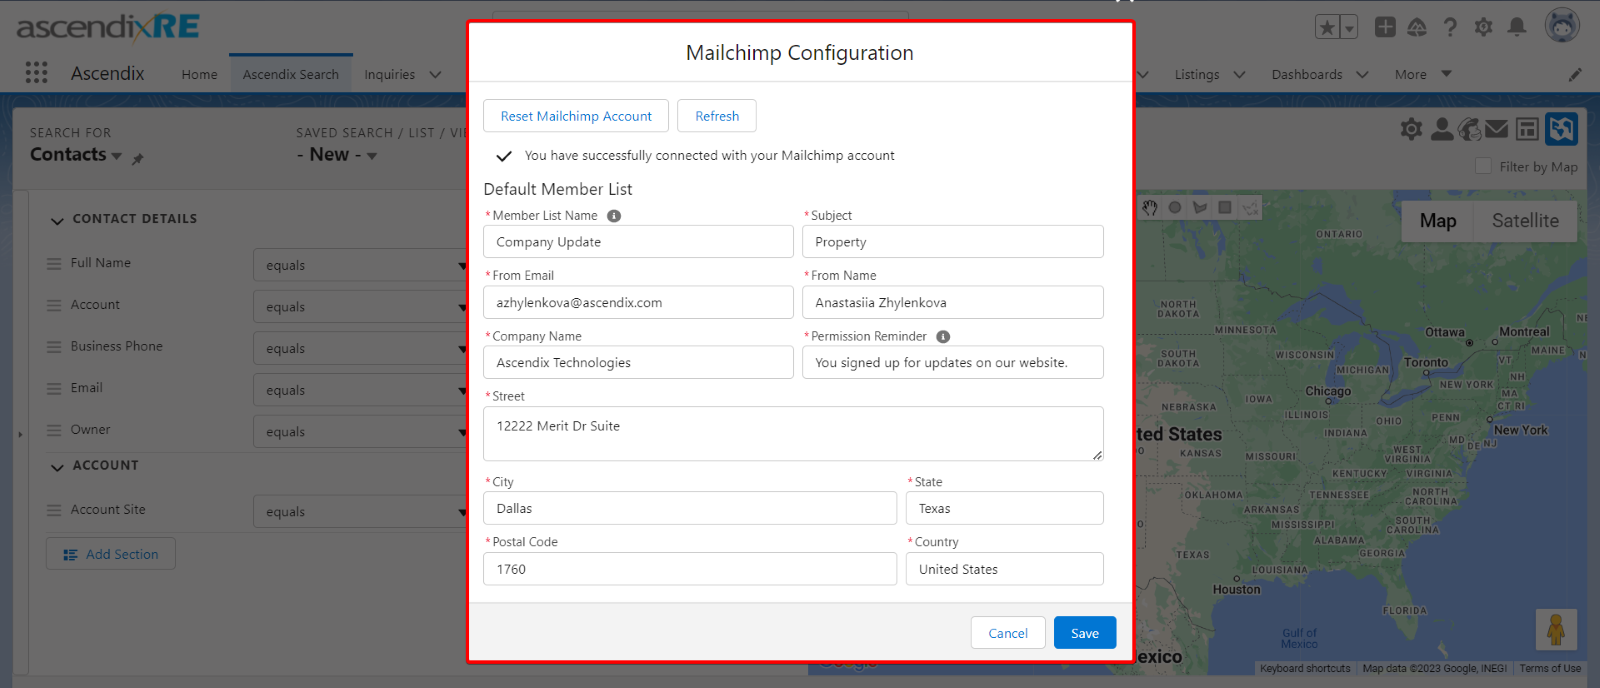
Please Note: During the Default Member list setup, the following information should be auto-populated from the user information:
First Name + Last Name -> From Name
Email -> From Email
Company -> Company Name
Country -> Country
State/Province ->State
Street -> Street
City -> City
ZIP -> Postal Code
8. Click the Save button.
9. Congratulations, you are all set!
If you want to disconnect your Mailchimp account, click the gear icon in the Mailchimp dialog and then hit the Reset Mailchimp Account button.